Last updated October 15, 2026
Home Addition Contractor Maintenance Checklist for Los Angeles Homeowners
Most home addition warranties in Los Angeles are voided not by contractor defects but by homeowner maintenance failures. Missed caulk inspections, unpainted exposed wood, and blocked weep screed are the three most common culprits, and none of them appear in a typical contractor walkthrough. A contractor hands you the keys, points at the new space, and drives off. Sixteen months later, you find a crack running along the roofline and discover the workmanship warranty has already expired on that specific failure. This guide gives Los Angeles homeowners the specific items to inspect, document, and schedule the moment their addition is complete. It’s the handoff checklist most contractors never provide.
Quick Answer
A home addition maintenance checklist for Los Angeles homeowners covers four phases before the contractor leaves: a room-by-room inspection against a written punch list, verification of permit final sign-off and panel labeling, documentation of all materials and warranties, and establishment of a 12-month maintenance calendar tied to LA’s dry summer and wet winter cycle. The specific items that matter most in Los Angeles are the roof tie-in joint, stucco weep screed, caulk around windows and doors, and foundation drainage, because marine layer moisture from May through July and thermal expansion from inland heat both stress these zones faster than in other climates.
Table of Contents
- The Room-by-Room Post-Completion Inspection
- Los Angeles Climate Factors That Accelerate Wear
- Warranty vs. Homeowner Responsibility: What Voids What
- The 12-Month LA Maintenance Calendar
- Documentation to Keep On File
- Common Mistakes to Avoid
- When to Call a Professional
- Frequently Asked Questions
The Room-by-Room Post-Completion Inspection
Before the contractor’s final walkthrough, walk each new room with a checklist in hand and a pencil. Do not accept verbal assurances. Write down every item that looks off, take a photo with your phone, and add it to a punch list document. In Los Angeles, where additions are often tied to existing 1920s Spanish or 1950s ranch structures, the tie-in points between old and new are where problems surface first.
Here is the inspection list, room by room:
Framing and Structure
- Ceiling and wall corners: Look for hairline cracks wider than 1/16 inch. Some settling is normal in the first 12 months. Diagonal cracks at door corners are not.
- Floor level: Place a marble on the floor in each corner of the room. If it rolls rapidly toward one wall, document it. A slope greater than 1/4 inch per foot should be addressed before the final payment is released.
- Door operation: Every interior door should open and close without catching. A door that swings open on its own suggests an out-of-level floor or hinge issue.
- Sound transfer: Knock on the new wall between the addition and the original house. You should hear a solid thud, not a hollow echo. Hollow sound means missing insulation or drywall attached directly to studs without a resilient channel.
Roof Tie-In
The roof tie-in is the joint where the new roof meets the old. It is the single most vulnerable point on any Los Angeles home addition. Poorly flashed tie-ins let water into the wall cavity, and by the time you see a stain on the ceiling, the damage inside the wall is already done.
Acceptable conditions: step flashing overlapping each shingle or tile by at least 2 inches, counter-flashing cut into the existing wall at least 1 inch deep, and roofing cement or sealant applied smoothly without gaps. Unacceptable conditions: exposed nails through flashing, sealant applied over gaps instead of metal flashing, or a tie-in that relies entirely on caulk.
Stucco and Exterior Wall Finish
If your addition has a stucco finish, walk the exterior wall in the morning light. Look for:
- Weep screed: This is the metal flashing at the bottom of the stucco wall, typically 2 to 4 inches above the foundation line. It must be visible and unblocked. Stucco walls in Los Angeles are designed to drain moisture downward and out through this channel. When landscapers bury weep screed under soil or concrete, trapped moisture migrates into the wall framing and rots it from the inside.
- Cracks larger than 1/8 inch: Hairline stucco cracks are normal in the first year as the wall cures. Cracks you can fit a nickel into are not acceptable and should be addressed before final sign-off.
- Color consistency: If the stucco color changes at the tie-in line between old and new construction, that is cosmetic and you can decide whether to repaint. If the texture changes, that is also cosmetic. But if the plane of the wall changes so the new stucco sits proud of or behind the old by more than 1/4 inch, document it.
Windows and Doors
- Operation: Every window should open and close without binding. Double-hung windows should stay open without being propped. Casement windows should close flush against the gasket.
- Sealant: Run a finger along the exterior caulk line where the window frame meets the stucco or siding. It should be smooth and continuous. Gaps you can see are water entry points.
- Flashing tape: For windows installed with a nailing flange, the flashing tape should extend at least 4 inches past the flange on all sides. You should not see bare wood or sheathing at any point around the window opening.
- Locking hardware: Every window and door should have working locks. If the addition includes an exterior door, it should have a deadbolt installed on the day of final inspection, not “coming next week.”
Electrical Panel Labeling
Open the electrical panel. Every breaker should have a legible label that accurately describes what it controls. A label that says “new room” is not acceptable. You want “NW addition bedrooms – outlets,” “NW addition bath – GFCI,” and so on. In Los Angeles, where many homes have panels that were new in the Eisenhower administration, an addition often requires a subpanel. The subpanel should have its own labeled directory and a clear indication of which main breaker feeds it.
Test every GFCI outlet now, not later. Plug in a lamp, press the TEST button, confirm the lamp turns off, then press RESET. Do this for every outlet in wet zones: bathroom, kitchenette, any outdoor outlet on the addition.
Los Angeles Climate Factors That Accelerate Wear
Los Angeles has two weather realities that most national home maintenance advice ignores: the marine layer that sits against coastal and westside homes from May through July, and the extreme thermal cycling that hits inland and valley homes every August through October. Both accelerate specific failure modes on home additions.
Marine layer moisture at the tie-in joint: If you live in Venice, Mar Vista, Playa del Rey, Westchester, or anywhere within about 5 miles of the coast, your addition’s roof tie-in and stucco joints are exposed to 400-plus hours of fog drip between May and July. Fog is not rain. It does not run off the roof. It condenses against vertical surfaces and sits there, working its way into hairline cracks through capillary action. Inspect these joints every spring, not just after rain. Reapply exterior sealant on a 2-year cycle, not the 5-year cycle recommended for inland climates.
Thermal expansion on dark roofing: In Woodland Hills, Canoga Park, Reseda, Northridge, and other valley neighborhoods, summer surface temperatures on dark composition shingle roofs regularly exceed 150 degrees Fahrenheit. At night, the temperature drops 80 degrees or more. This daily expansion and contraction cycle works nails loose and opens seams in flashing. After two or three summers, the tie-in flashing on an addition roof in the valley is under more stress than the same flashing in coastal Los Angeles after a decade. Inspect valley additions every August, after the worst of the heat, and re-seat any lifted flashing before the winter rains.
Root pressure near foundation additions: Many Los Angeles additions extend toward the rear property line, where mature ficus, magnolia, and oak trees have been growing for 30 or 40 years. Ficus roots are notorious for seeking water sources, and a new foundation changes the moisture pattern in the soil. Roots that previously grew away from the house may redirect toward the new footing. Within 5 years, a ficus within 10 feet of an addition foundation can exert enough pressure to crack a slab. If your addition sits near a mature tree, have the root zone evaluated before construction, and schedule an inspection every 24 months after completion. This applies throughout Los Angeles, from Altadena to Sherman Oaks to Torrance.
Warranty vs. Homeowner Responsibility: What Voids What
A written workmanship warranty from a Los Angeles home addition contractor typically covers specific items: structural framing, roof tie-in flashing, window installation, stucco application, electrical work, and plumbing. The warranty period is usually one to two years. What most homeowners do not realize is that the warranty has conditions, and the conditions are written in the fine print.
Here is the general division, based on warranty language common in the Los Angeles market:
Contractor responsibility (covered by workmanship warranty):
- Structural framing that fails due to improper installation
- Roof leaks at the tie-in joint caused by incorrect flashing
- Window leaks caused by improper flashing or installation
- Stucco cracking wider than 1/4 inch caused by improper curing or application
- Electrical outlets or fixtures that stop working due to faulty wiring
- Plumbing leaks inside walls caused by defective workmanship
Homeowner responsibility from day one (not covered by any workmanship warranty):
- Maintaining exterior caulk and sealant around windows, doors, and trim joints
- Keeping weep screed clear of soil, mulch, and debris
- Painting or sealing exposed wood surfaces
- Cleaning gutters and downspouts that serve the addition roof
- Maintaining proper drainage and grading around the foundation
- Addressing pest intrusion (termites, rodents) after the warranty period
Actions that void a workmanship warranty:
- Performing structural modifications to the addition without the original contractor’s written approval
- Failing to address documented leaks or water intrusion within a reasonable time after discovery
- Allowing the property to fall into disrepair to the point that it causes additional damage (for example, a clogged gutter that causes water to back up under the roof flashing)
- Hiring a second contractor to repair workmanship defects without giving the original contractor the opportunity to fix them first
In our experience with Los Angeles additions, the most common warranty dispute is a roof leak at the tie-in that the contractor claims is caused by the homeowner’s failure to clean gutters. The homeowner insists the flashing was defective. Both sides have a point. The practical solution is to document everything during the first 12 months: date-stamped photos of the tie-in after every significant rain, a log of gutter cleaning, and written notes from any inspection. When something fails, you have a record.
At Lodgewick ADU Los Angeles home, every project includes a written guarantee delivered before work begins, and the specific items it covers are spelled out in plain English. The Kingswell Guarantee includes a 365-Day Done Right Promise: if the work is not right within the first year, we come back and make it right. That commitment is in writing on every project, which is what separates a maintainable addition from a liability.
The 12-Month LA Maintenance Calendar
Los Angeles does not have four seasons in the traditional sense. It has a dry season (roughly April through October) and a wet season (roughly November through March), with the marine layer adding a third moisture variable along the coast from May through July. Your maintenance calendar should follow this cycle, not the generic spring-summer-fall-winter rhythm of national guides. For Seasonal ADU Care for Los Angeles: Year-Round Homeowner’s Guide, adjust these dates to your specific microclimate.
- Month 1 (Completion Month): Complete the full room-by-room inspection from this guide. File all documentation (see next section). Run every faucet, flush every toilet, test every GFCI, operate every window. Note any items that do not meet the standard and send the written punch list to your contractor within 30 days. Time required: 2-3 hours. Cost: $0.
- Month 3: Inspect the roof tie-in flashing after the first period of weather. Recheck all caulk joints on windows and exterior doors. Walk the foundation perimeter and confirm that grading slopes away from the addition by at least 6 inches over the first 10 feet. Time required: 1 hour. Cost: $0.
- Month 6 (Late Spring – Early Summer): If you live west of the 405, inspect all exterior sealant and stucco joints for marine layer moisture damage. Reapply sealant anywhere it has cracked or pulled away. Clear weep screed of any debris. Time required: 2 hours. Cost: $20-$50 for sealant if DIY; $150-$300 if you hire a handyperson.
- Month 9 (Late Summer): For valley and inland additions, inspect the roof tie-in and shingle or tile condition after the hottest stretch of the year. Look for lifted flashing, popped nails, and cracked sealant at the roof-to-wall joint. Schedule a roof inspection if you find anything questionable. Time required: 1 hour. Cost: $0 for visual; $250-$500 for a professional roof inspection.
- Month 12 (Before Winter Rains): Clean gutters and downspouts serving the addition. Inspect all window and door weatherstripping. Confirm that the ground around the foundation still slopes away. Test all GFCI outlets again. Re-check the electrical panel labels for accuracy. This is also the final month of the 365-Day Done Right Promise window for most warranties – document everything in writing and send a final list of any unresolved items to your contractor. Time required: 3-4 hours. Cost: $0-$200 depending on gutter cleaning and any sealant replacement.
- Month 18 and Month 24: If you have mature trees near the addition foundation, schedule a root zone inspection. Re-walk the entire exterior and note any new cracks wider than 1/8 inch. Check for signs of pest activity around the foundation and roof line. Time required: 2 hours. Cost: $300-$600 for a certified arborist inspection if trees are involved.
The most important date on this calendar is Month 12. Under most Los Angeles contractor warranties, any workmanship defect you have not reported by the end of the first year becomes your financial responsibility. Be systematic about it. Put the inspection date on your calendar now, the day your addition is complete.
Documentation to Keep On File
The day your Los Angeles home addition is complete, start a physical folder and a digital folder. Physical goes in a fireproof safe. Digital goes in cloud storage. This documentation protects you when you sell the house, when you refinance, when you file an insurance claim, and when a future buyer asks whether the addition was permitted.
Keep these documents permanently:
- Permit final card: This is the signed card or approval notice from the Los Angeles Department of Building and Safety indicating that the addition passed its final inspection. Without this document, your addition is legally an unpermitted structure, and you will face significant complications when selling or refinancing.
- Inspector sign-off records: Keep the records for each inspection phase: foundation, framing, electrical rough-in, plumbing rough-in, insulation, and final. These demonstrate that the work was performed to code at every stage.
- Material spec sheets: Roofing material, window brand and model, insulation type and R-value, stucco system, flooring material, and any prefabricated components. If you used a prefab ADU system from a manufacturer like Abodu, Cover, or Tuff Shed, keep the manufacturer’s specification sheets and installation manuals. If you clad the addition in James Hardie siding or trim, keep the product warranty registration.
- Written contractor warranty: The actual document, signed by the contractor. Note the exact start date, the items covered, the exclusions, and the process for making a claim.
- Subcontractor list with contact information: Electrical, plumbing, roofing, stucco, and any other trades that worked on the addition. If you need warranty work in month 10, this list saves weeks of phone tag.
- Photos: Take 50 to 100 photos at completion, documenting every wall, ceiling, floor, window, door, appliance, outlet, and exterior surface. Your insurance company will want these if you ever file a claim. A future buyer will want these to confirm what the addition looked like at completion.
For ADU and garage conversion additions specifically:
If your addition is a garage conversion or an accessory dwelling unit (a separate living space with its own kitchen and bath), keep the certificate of occupancy, the LADBS inspection approvals, and any documentation of the meter or panel separation. For related guidance, see our How to Hire a ADU Contractor in Los Angeles: A Step-by-Step Guide. The Los Angeles Department of Building and Safety requires that an ADU be clearly defined as a separate dwelling unit, and the paperwork needs to reflect that. When you sell, a missing permit final card on an ADU is one of the most common reasons Los Angeles escrows fall apart.
Common Mistakes to Avoid
- Releasing final payment before completing the punch list. The most effective leverage you have with a contractor is the final payment. In Los Angeles, where contractor demand consistently outstrips supply, a contractor who has been paid in full has far less incentive to return for small fixes. Hold 5-10% of the contract value until every punch list item is resolved in writing.
- Assuming the city will catch everything. LADBS inspectors in Los Angeles check for code compliance, not workmanship quality. An inspector will sign off on a roof tie-in that meets minimum code but leaks at the first rain. Your inspection is the quality check.
- Painting over water stains instead of finding the source. A water stain on the ceiling of your new addition always has a source. In Los Angeles, where rain is rare but intense when it comes, the source may only appear during a few storms each year. Fixing the cosmetic issue without addressing the water entry point turns a $500 flashing repair into a $15,000 framing repair.
- Ignoring the weep screed because you do not know what it is. We see this constantly in Los Angeles. A homeowner installs a planter bed against the new stucco wall, burying the weep screed under 6 inches of soil. Two years later, the base plate of the wall is rotted and the stucco is delaminating. The warranty is void because the homeowner blocked the drainage path.
- Losing the permit documentation. Los Angeles homeowners who cannot produce the permit final card when selling their home face two options: disclose the addition as unpermitted and accept a lower sale price, or pay to have the addition retroactively permitted, which can cost $10,000-$30,000 in engineering and inspection fees. Keep the paperwork.
- Skipping the Month 12 inspection. Most workmanship warranties in Los Angeles run 12 months. Homeowners who skip the final inspection within that window lose their only opportunity to have defects corrected at the contractor’s expense.
- Hiring a second contractor for warranty work without notifying the original. Most warranty agreements require that the original contractor be given the opportunity to fix defects before you hire someone else. If you skip that step, the warranty company or contractor can deny the claim, and you are paying out of pocket.
When to Call a Professional
Some items on this checklist are DIY-friendly: testing GFCI outlets, checking caulk lines, clearing weep screed, documenting photos. Other items require a trained eye and, in some cases, a licensed professional. Call a professional if you notice any of the following: a roof leak at the tie-in joint during or immediately after rain, a crack in the foundation wider than 1/8 inch, a stucco crack that grows month over month, any electrical outlet that sparks or trips a breaker repeatedly, a floor that feels spongy or bouncy when walked on, or water staining on any ceiling or wall. These are signs of structural or system failures, not cosmetic issues. If your addition is still within its 12-month warranty window, call your original contractor first. If the contractor is unresponsive or the warranty has expired, Lodgewick ADU Los Angeles offers free estimates for home addition repairs throughout Los Angeles. Call (213) 698-7116 and a live person will answer, any time of day.
Frequently Asked Questions
A professional home addition inspection in Los Angeles typically costs $250 to $600, depending on the size of the addition and whether specialized trades like roofing or electrical are included. A combined structural and roof inspection runs $400 to $800. Many contractors include a walkthrough inspection at Month 11 or 12 as part of their warranty process, so check your contract before hiring anyone. Call (213) 698-7116 for a free estimate if you need a repair-oriented inspection after the warranty period.
Most Los Angeles home addition contractors offer a workmanship warranty of 12 months on labor and installation. Material warranties, such as roofing or window warranties, typically run 10 to 30 years from the manufacturer and are separate from the contractor’s workmanship warranty. At Lodgewick ADU Los Angeles, every project includes a 365-Day Done Right Promise: if the work is not right within the first year, the team comes back and makes it right, and that commitment is in writing before work begins.
Yes, any structural home addition in Los Angeles requires permits from the Los Angeles Department of Building and Safety, including additions that are built as accessory dwelling units or garage conversions. The permit process includes plan check, inspections at each construction phase, and a final sign-off. An addition built without permits creates significant problems when you sell or refinance, and retroactive permitting in Los Angeles typically costs $10,000 to $30,000.
In our experience building additions across Los Angeles, the most common maintenance failure is water intrusion at the roof tie-in joint where the new roof meets the existing house. The marine layer along the coast and the thermal expansion in the valley both stress this joint. The failure is usually caused by a combination of aging sealant and homeowner neglect of gutter maintenance. The fix is relatively inexpensive if caught in the first year; it becomes structural and expensive if ignored for two or three years.
A correctly built Los Angeles home addition meets three standards: it passed all LADBS inspections with sign-off records, the contractor’s workmanship matches or exceeds the specifications in the contract, and the addition performs without problems through one full wet season including at least two significant rain events. If you have the inspection records, the written contract, and no leaks or structural cracks after the first year, the addition was built correctly. If any of those three are missing, schedule a professional inspection now.
Yes, a garage conversion to an accessory dwelling unit – a separate living space with its own kitchen and bathroom – is one of the most common ADU projects in Los Angeles and typically costs less than a ground-up addition. The conversion requires a separate permit path through LADBS, electrical and plumbing upgrades, and compliance with ADU-specific requirements. Lodgewick ADU Los Angeles specializes in garage conversions and provides written pricing before any work begins. For details on the ADU permit process and project timeline in Los Angeles, call (213) 698-7116.
The Bottom Line
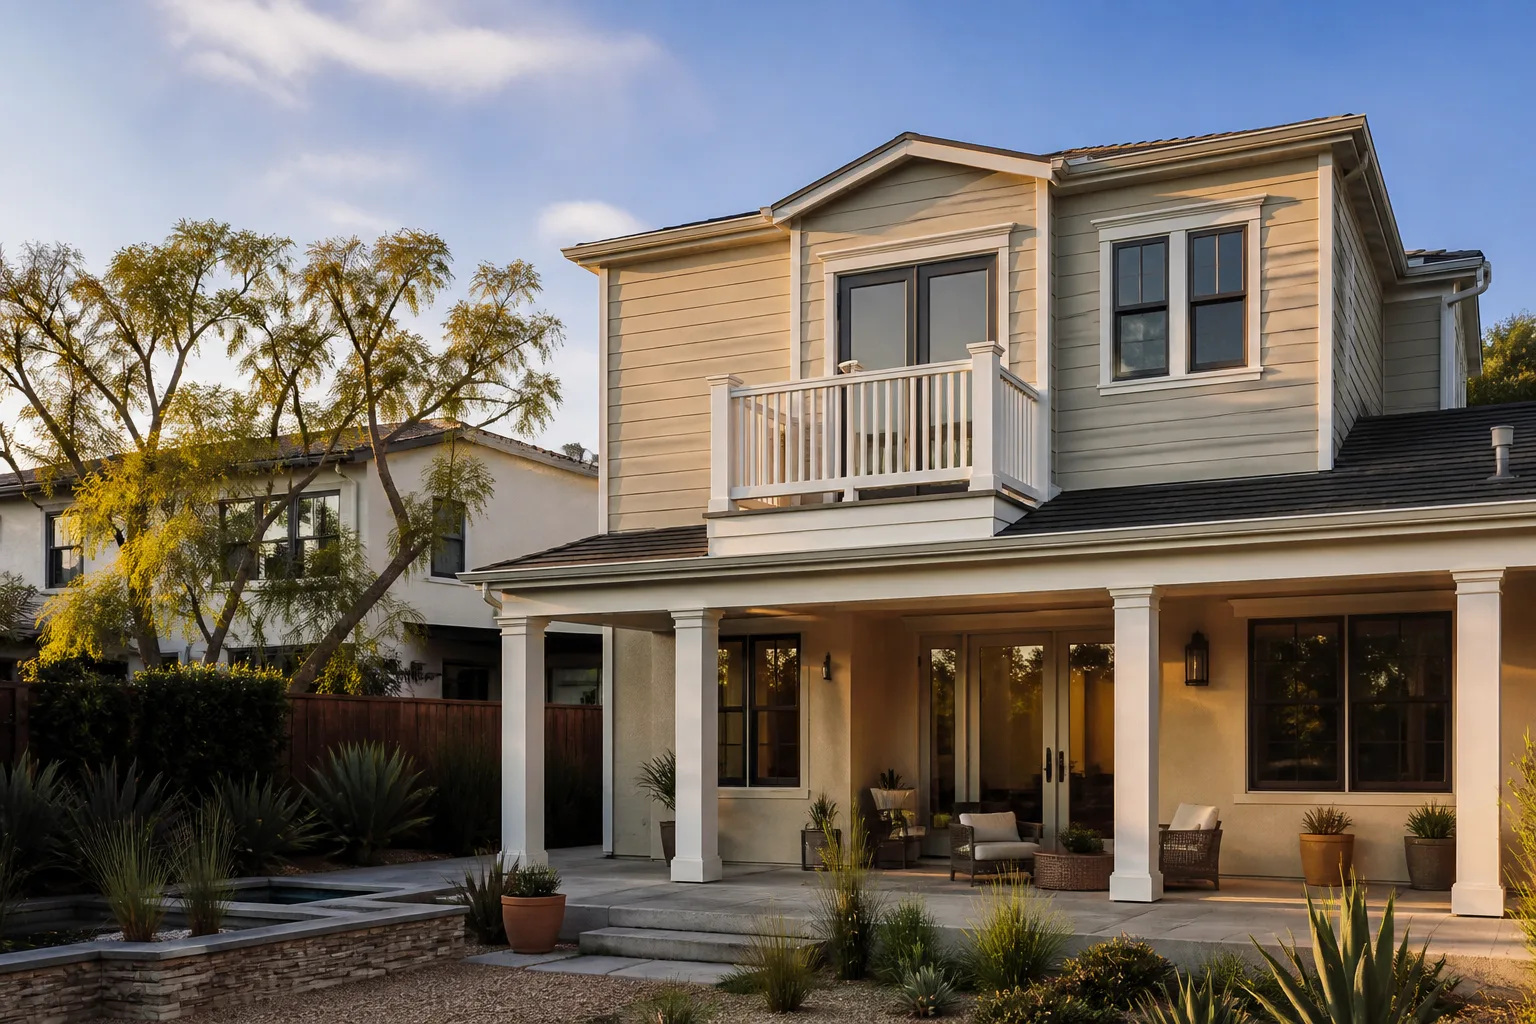
A home addition in Los Angeles is a six-figure investment, and the maintenance plan starts the day the contractor hands you the keys. The checklist in this guide covers the items that protect that investment: a room-by-room inspection before final payment, a maintenance calendar tied to LA’s actual climate, clear documentation of what the contractor warrants versus what you are responsible for, and a permanent file of permits and sign-offs. Explore more guides & resources for maintaining your Los Angeles home addition. None of it is complicated. Most of it costs nothing during the first year. The expensive version of home addition maintenance is the one you do not do, when a $30 tube of caulk would have prevented a $20,000 framing repair. Set your Month 12 inspection date now, and put the phone number for your contractor in the calendar entry.
Written by Russ Delmar, Owner at Lodgewick ADU Los Angeles, serving Los Angeles since 2010.